
Struggling to get organised this semester? Let our ambassador from Vietnam and MSc in Management at Trinity College Dublin Quan Vo Minh explains how file management via cloud services is the key to productivity.
Cloud computing services are certainly not a new concept. When used properly these tools can certainly improve our productivity — something we could all do with when there is a looming deadline on the horizon. With that in mind I wanted to share with you a quick guide to cloud services with four easy steps that will make your life so much easier.
Some of the benefits of using cloud services include:
- No more risk of losing data if you break your laptop
- Access to files anywhere, anytime
- No need to remember the URL, the cloud has a list of all your most recently visited websites
- The ability to separate work, study and personal accounts
Now that we know the benefits, let’s get started!
Step One — Store all of your files on the cloud
There is a strong chance that your university has already supplied you with a generous amount of cloud storage space. For example, as a student of Trinity College Dublin (TCD),I have been provided with an unlimited MyZone Google Drive account (which is linked to my TCD email address) and a 1 terabyte Microsoft OneDrive account (which is part of my Office 365 toolkit). If you’re not sure which service to use, contact your IT services department to ask them for instructions on how to access cloud services. On the off chance that your university does not offer such services then I recommend setting up Google Drive or Dropbox.
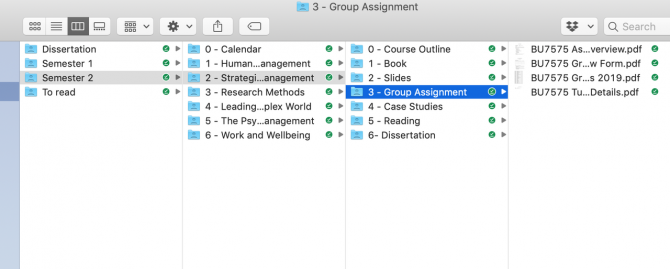
My files and folders which are stored on Google Drive
I would advise choosing just one service and go with the one that most of your classmates have opted for so you can easily share files among yourselves. For this reason I tend to use Google Drive because I can also have access to Google Docs, Slides and Spreadsheets — this makes team collaborations so much easier.
Step Two — Install cloud storage app on your mobile device
After successfully uploading your files online, the next step is to install the corresponding app on your mobile or tablet. Selecting the files you use most frequently and marking them as your favourite or even downloading them directly onto your device will mean they are easily accessible even if you’re offline.
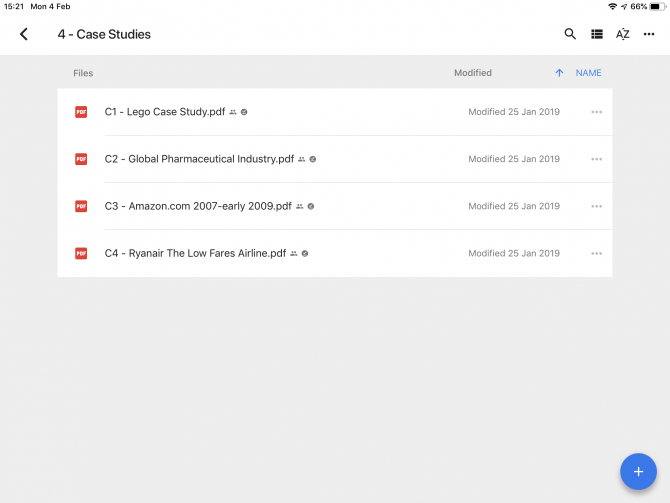
My files on drive application on my ipad
Step Three — Bookmark your most used links
Now that your files are on the cloud, let’s take a moment to consider the web addresses you use the most. You probably have a whole list of sites that you use for study such as your college email service, program/module dashboard, university library, online journal portal etc. Use the bookmark shortcut Ctrl + D for PC and Command + D for Macbook — this will keep everything checked and stored for you to find easily at a later date. When that time comes you simply go to the bookmark manager and organise your links into folders with the most frequently used on the bookmark bar for quick access. My top tip for this is to change the name of the URL to something short and easy to remember — this will give you more space to store more links on the bar.
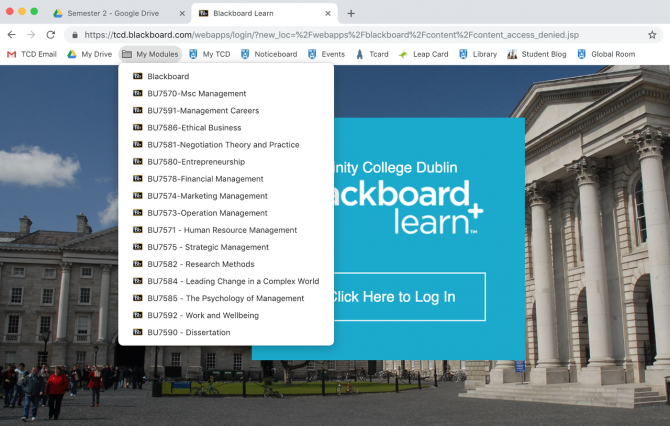
My Bookmark bar with all frequently used URLs
Step Four — Set up your different Google accounts on Chrome
You can use Chrome with multiple Google accounts (including your University emails which are often powered by G Suite). By doing this it is possible to switch between different usernames on websites. For example, I can have one account signed into Gmail with my personal account and another username signed into the same website with my TCD email address. I easily switch between Chrome users by hitting the Ctrl + Shift + M (or Command +Shift +M) shortcuts to access them at the same time without the need for constant signing in and out over and over again.
Each Chrome user will also have their own separate list of bookmarks so I can have my personal account showing my email, Facebook and Netflix bookmarks while my Study account will have my college email, Moodle, library services and calendar ready to go.
Google Chrome automatically syncs the history, passwords and bookmarks of each user onto the cloud. So even if you use another device you can still access everything once you log in to your account.
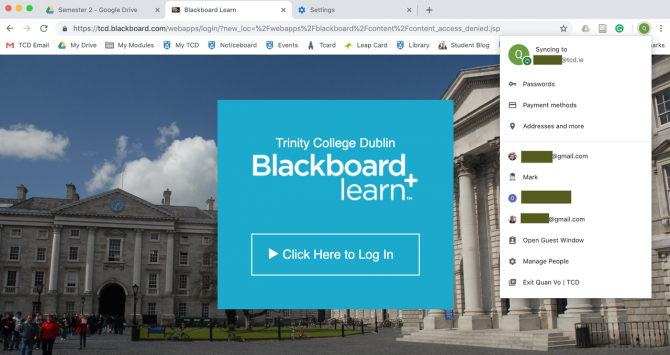
My TCD account on Chrome
I hope that has been helpful! It may take an hour or two to install the necessary apps, reorganize your files and set up your accounts but once everything is in place you will be able to access all of your digital assets so easily regardless of your device or location.
And if you’re already a skillful user who is already familiar with cloud computing, please take some time to share your own tips and techniques on managing files in the comment section below.